This is for the 1.8tl JH1 injected engine. The fuel filter is located under the bonnet near the battery and should be replaced at least evey 5 years (in regards to Australian fuel quality).
When to replace:
You'll need
It's a good idea to remove the battery when messing around with fuel lines, but in this case we need to get it out of the way anyway.
This is the 17mm bolt. Loosen it off and allow the fuel trapped in the old filter to drain away into a receptacle. Be sure to mop up any spilt fuel.
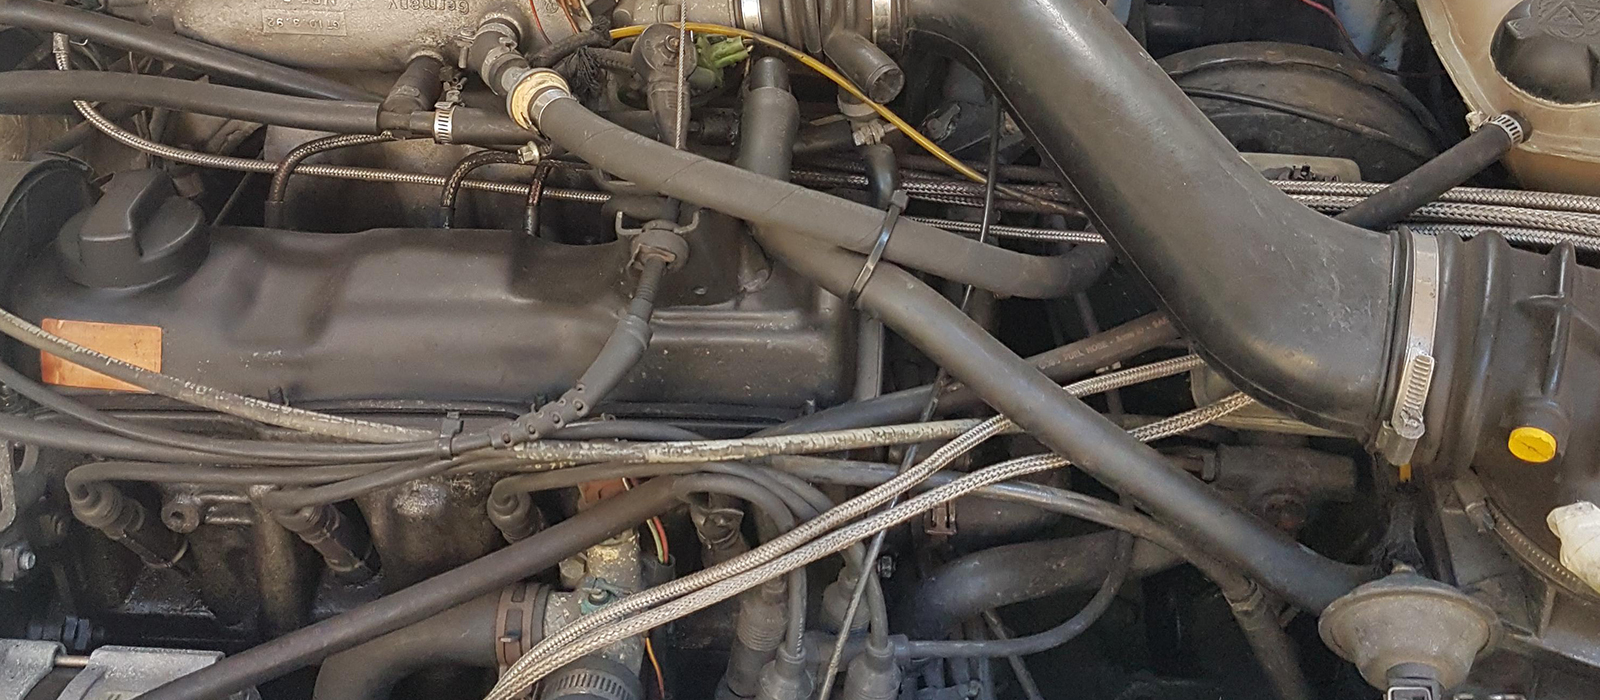
Once the fuel is no longer dripping remove the banjo bolt making sure not to lose the 2 copper washers that are connected to it.

As above be aware of leaking or under-pressure fuel. In my case this bolt (19mm) was very stubborn and had to be removed with my electric rattle gun. I had to unstrap the filter (8mm) and pull it away from its bracket to get a good angle. Again be sure not to lose the 2 copper washers accompanying this bolt.
If you haven't already done this in the above steps unstrap the filter with by undoing the 8mm bolt. Be careful the bolt doesn't fall down into the engine bay.
Basically the reverse of the above. I connected the 17mm first, then the 19mm, ensuring both were tight. I did this before strapping the filter in place so I could get good angles on each. I made sure to clean up any leaks or drips. Note I didn't re-strap the filter until after I tested.
Reconnect the battery and with a friend watching for leaks, start the car. It make take a few revolutions for the fuel to be pumped through the new filter. Have your friend call out if they see leaks and immediately turn the car off (in my case I had a leak on the rear intake bolt. I ended up having to use the rattle gun again to tighten it.) If you have to re-tighten remove the battery again. Only after I was sure there were no more leaks did I re-strap the filter in place.
Clean up any spilt fuel, especially if it's around the battery.

A 1973 Tom Wallace Special: The road bike from the all but forgotten Queensland bicycle manufacturer.

Is a VW Mk1 Golf a reliable car? Can you daily drive it and what are common issues you might encounter?

How easy is it to daily drive a 30+ year old Honda? Does Honda's famous reliability live up? Review of a 1988 Honda Accord